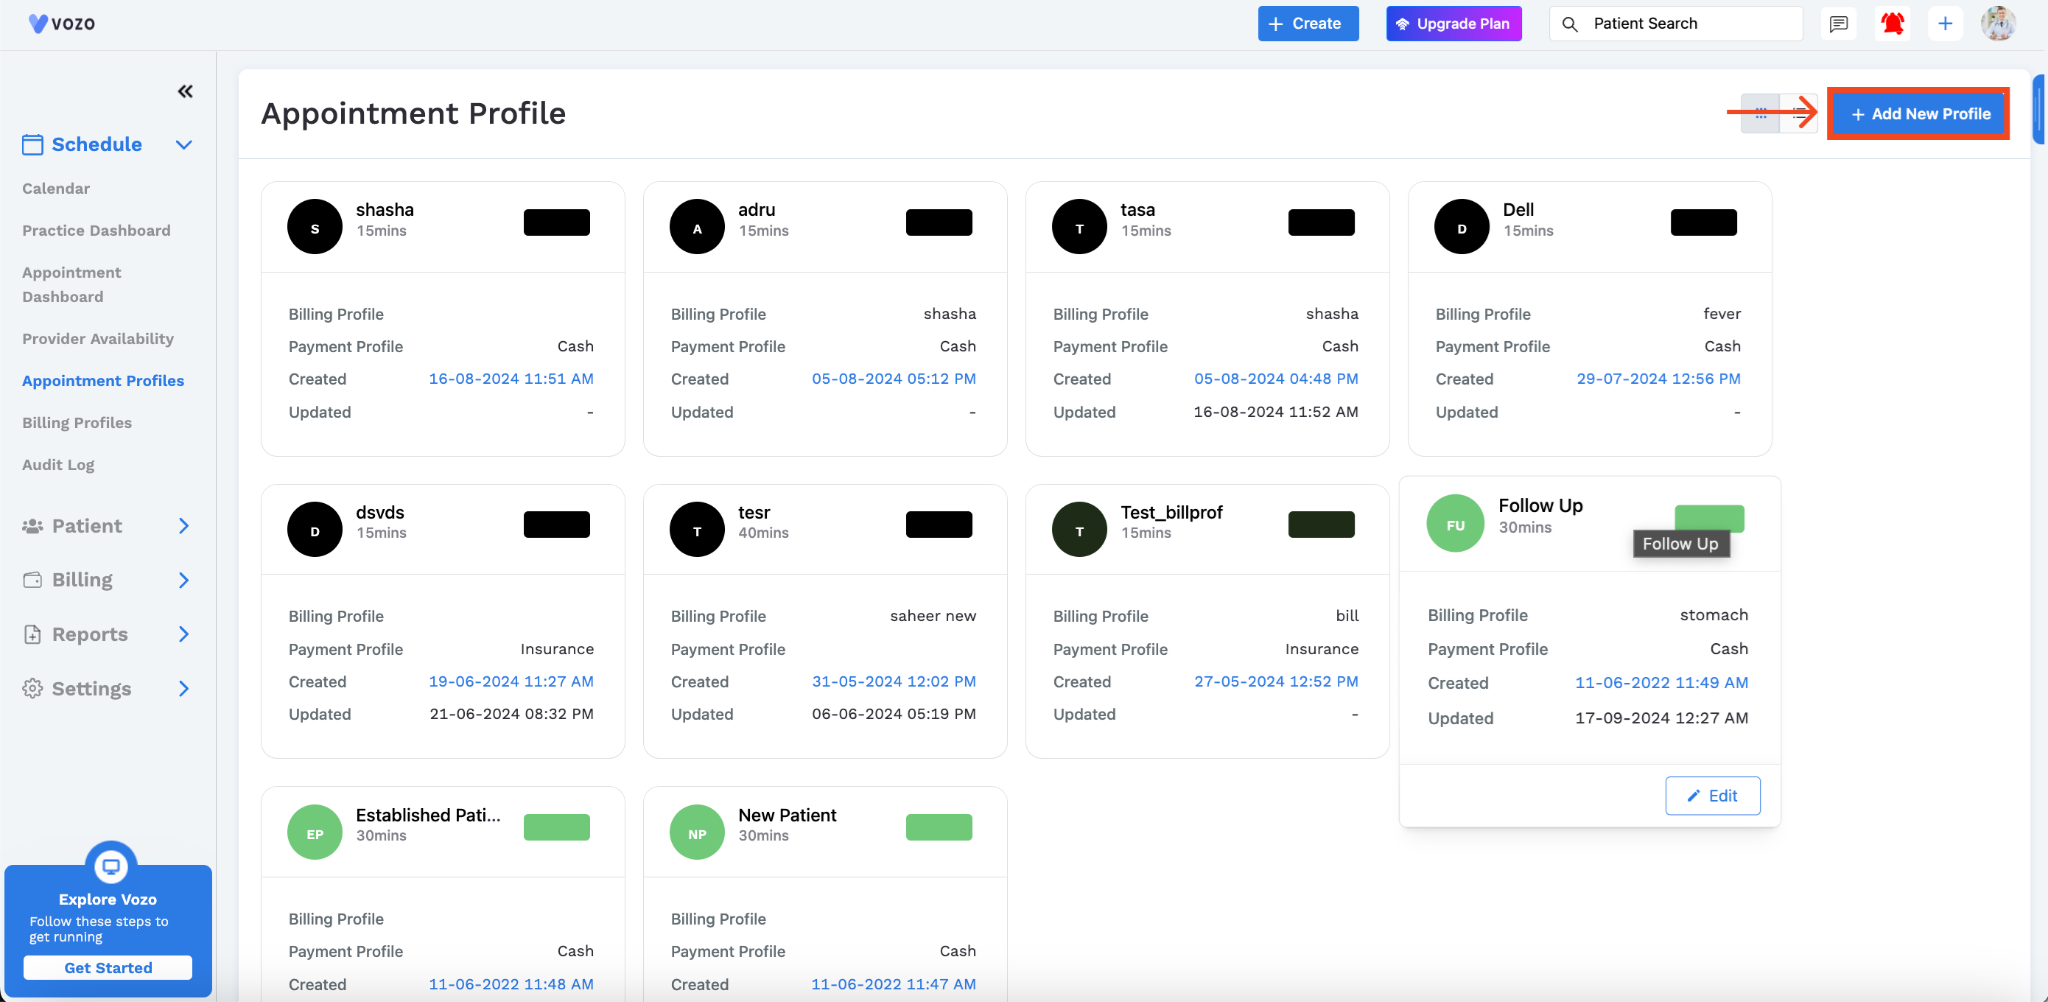
Adding Appointment Profile
Updated Recently
Overview
How to add appointmentCreating appointment profiles allows users to quickly schedule appointments with pre-filled information which saves more time while scheduling appointments. When a profile is selected, all relevant details populate automatically in the appointment popup and its details page.
To make the appointment scheduling process easy, you can create an appointment profile to speed up the process.

After creating an appointment profile, it becomes available for quick selection during scheduling.
When you choose a profile, the pre-configured details, such as the reason for the visit, appointment duration, and billing information from the 'Billing Profile,' are automatically filled into the new appointment popup.
The payment profile (cash or insurance) will also be populated.
This allows you to complete the scheduling process faster and with fewer manual steps.
Example: For a patient who regularly attends “Physical Therapy,” create an appointment profile named “Physical Therapy” with a 30-minute duration, profile color as blue, and reason set to “Therapy”, with service codes for Physical therapy created as a Billing profile, and the Payment profile as Cash or Insurance.
When scheduling, selecting this profile will automatically fill in the Appointment details, service, and billing information.