How can we help?
Billing & Insurance Settings
Billing Configuration
- Click on Settings > Billing & Services > Billing menu.
- Configure your billing currency across the application, along with the third-party Stripe payment gateway details.
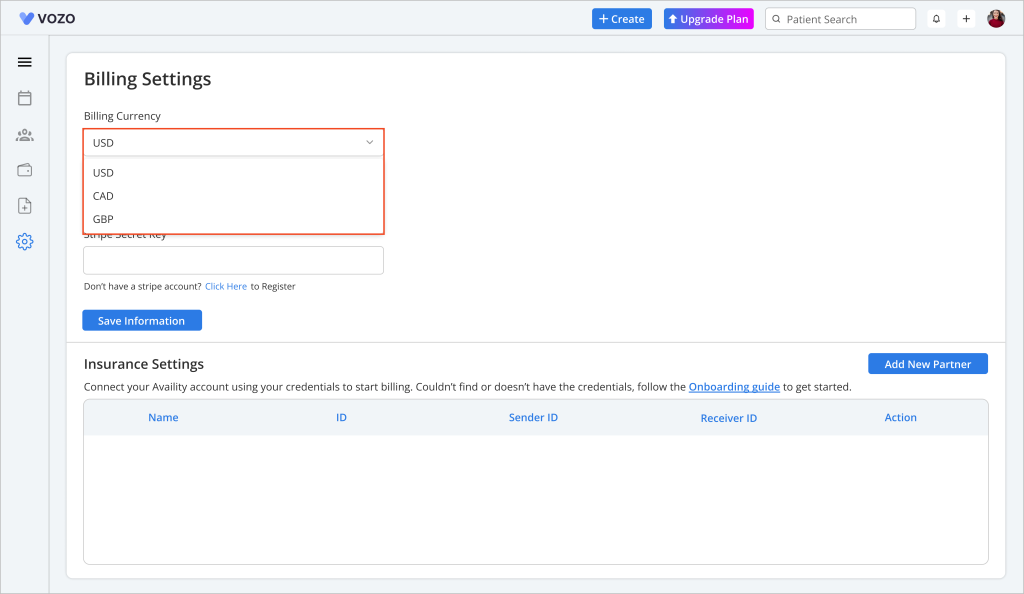
- To set your preferred currency for billing, click on the “Billing Currency” dropdown and select a currency from the following options:
- USD
- CAD
- GBP
- To configure your Stripe account into the application, enter your “Stripe Publishable Key” and “Security Key” in the input fields to enable secure online payments.
- If you don’t have a Stripe account, click the “Click Here” link to be redirected to Stripe’s website and create one.
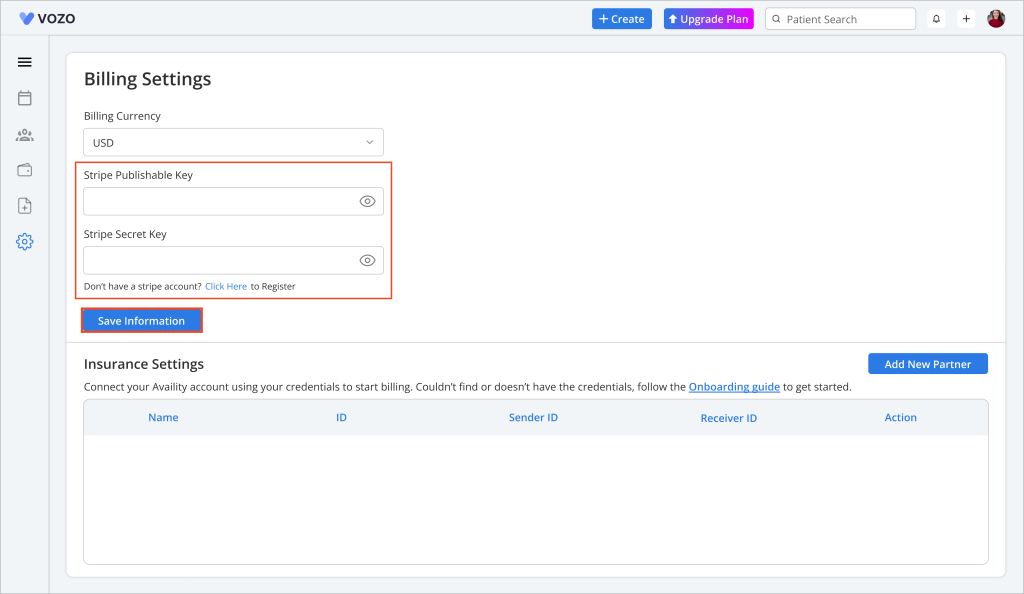
- Click the “Save Information” button to save your billing settings.
Note: Stripe processes payments on behalf of the provider and deducts a commission before transferring the remaining amount to the user’s Stripe account.
Insurance Configuration
- In the Insurance Settings section, configure your third-party Availity clearinghouse or other clearinghouse integration.
- To add a new partner for integration, click on the “Add New Partner” button.
- In the Add New Partner pop-up, enter the required details, including:
- Partner Name
- Partner ID
- Partner Password
- X12 Sender ID
- X12 Receiver ID
- SFTP Host
- SFTP Port
- SFTP Login ID
- SFTP Password
- SFTP Local Directory
- SFTP Remote Directory
- Set as Default X12 Partner
- Click on the “Save” button to save the integration details and get them displayed in the list.
- If you don’t have the clearinghouse configuration details or doesn’t know where to get these, click on the “Onboarding Guide” link to get to know how & where the user get these details.
- When clicking on the “Onboarding Guide” link a popup appears displaying the steps & procedure to follow to get the configuration details.
- To edit the partner details, click on the “Edit” icon, change the details, and click “Save” to update the changes.
- Click “Delete” icon to delete the insurance clearinghouse’s partner details.
- When deleting a insurance clearinghouse’s partner there are some conditions need to be meet, those are:
- A insurance clearinghouse’s partner cannot be deleted when insurance claims has been submitted to the clearinghouse and while it is processing the payment.
- The insurance clearinghouse’s partner can only be deleted when there are no insurance claims associated with the clearinghouse in the payment processing.