How can we help?
Templates
- Go to Settings > Administration > Templates menu.
- The Library tab lists all the pre-built default templates created based on the specialty and template category, like Encounter, Intake, Assessment, and Other.

- By default, all the templates will be listed based on the card view. In the card, there are several options available to make use of the template. That is:
- Eye icon – To preview the template
- Download icon – To download the template
- Edit icon – To edit the template
- Checkbox – To send templates to Patient Portal (For Inate, Assessment, Other Templates)
- (While hovering) Set as Default toggle – To open the template as default clinical notes (Encounter Templates)
- After setting the template as default, the border of the card will be highlighted by a blue shadow effect, indicating that the template is the default.
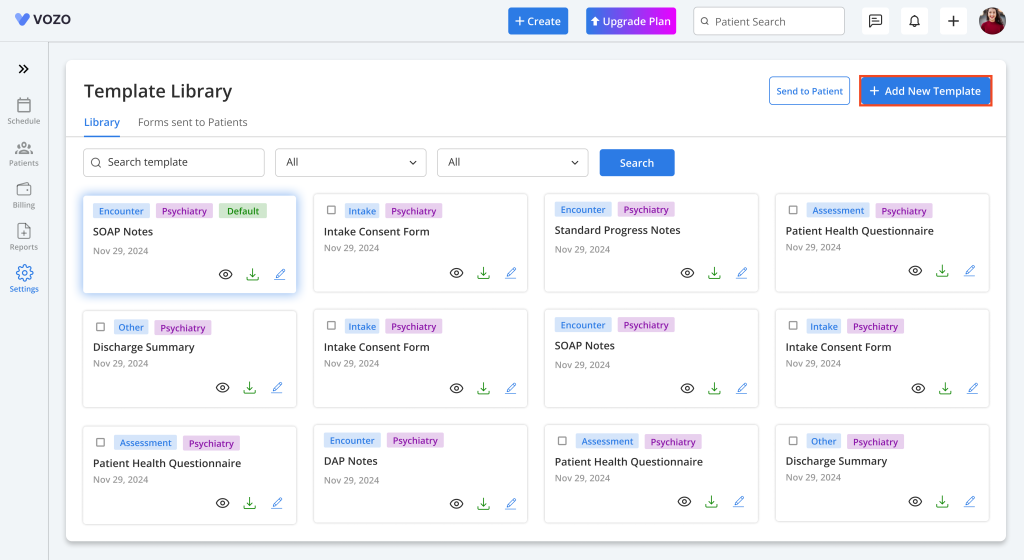
- To add a new document, click on the “Add New Template” button.
- The notes editor pop-up will open, where you can create a new template by typing freely, and can also add input fields by hovering on the “Input fields” button.
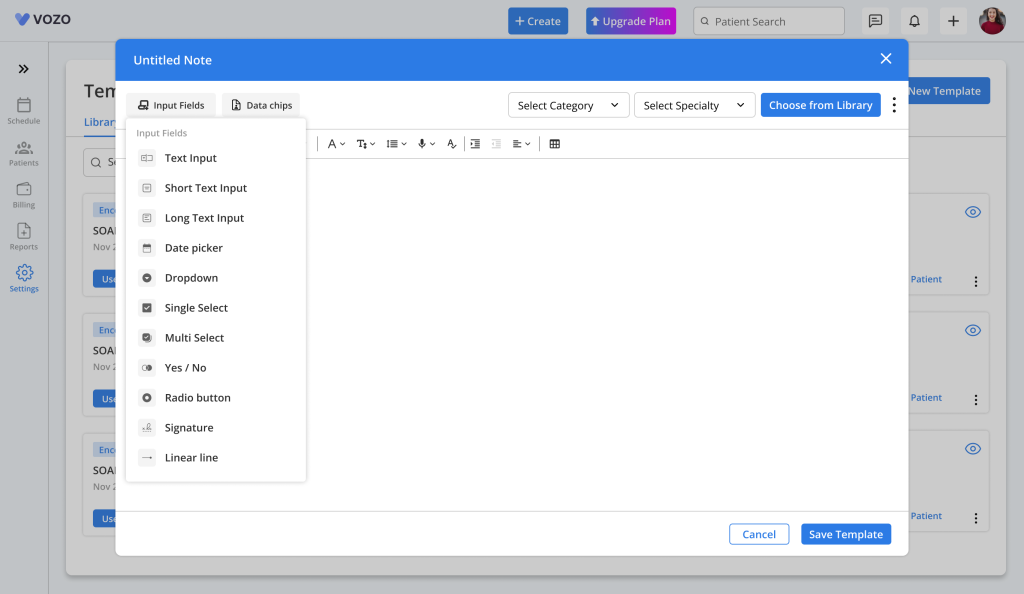
- A drop-down will appear listing all the input fields like textbox, date picker, multi-select, etc.
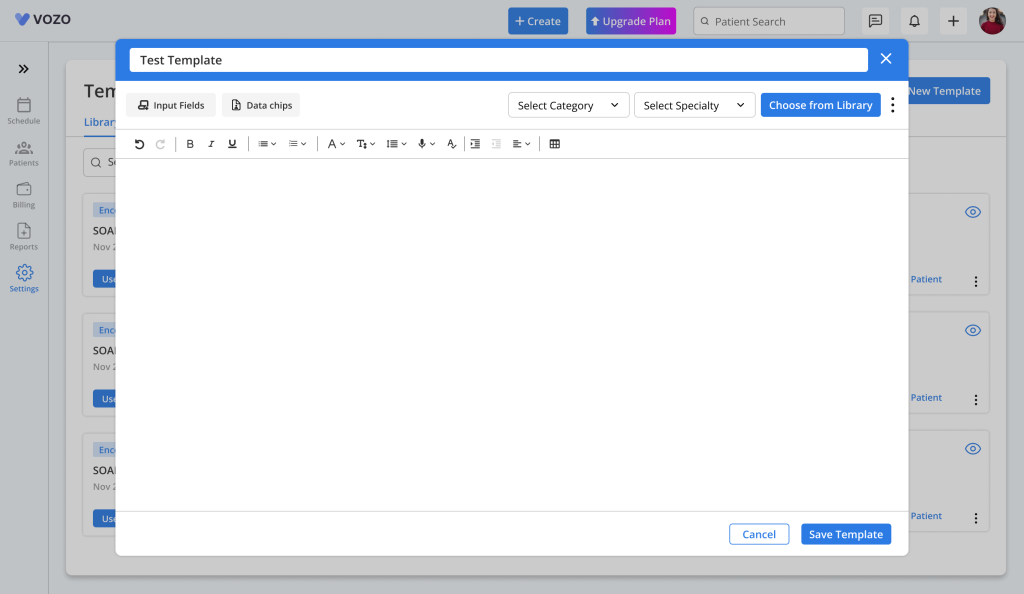
- After creating a template, provide a template name by clicking on the “New Document Template” icon and which then autosaves when you start working in the editor.
- Then select a Specialty and Category in which the template needs to be saved, and click on the “Save Template” button to save the template and it also get autosaved when you work in the editor.

- To customize a pre-built template into a new template, click on the “Use Template” button.
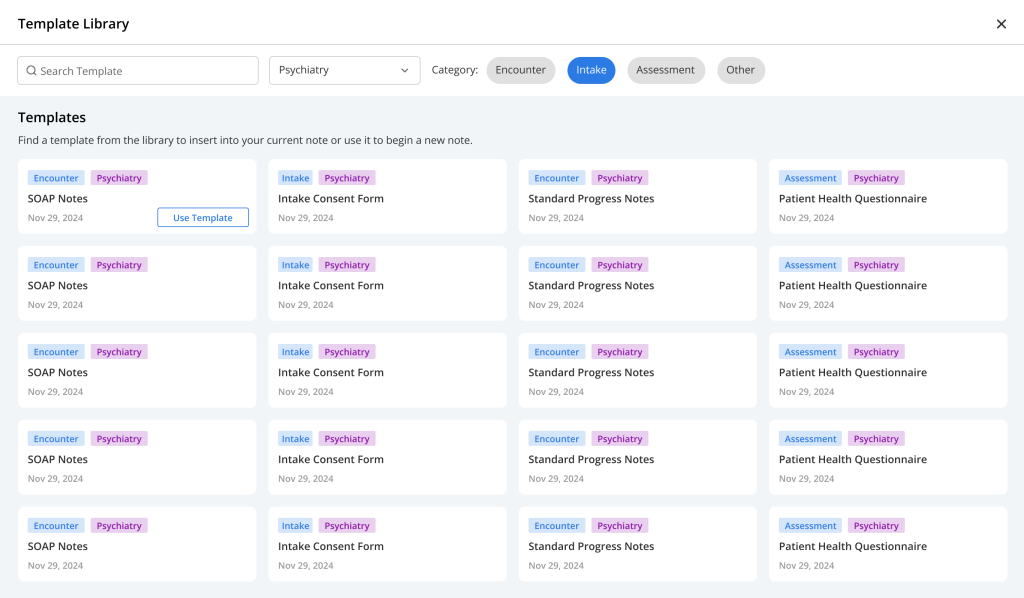
- A popup window opens displaying all available templates in card format. From that, the user can hover and click on the Use Template button to use the template.
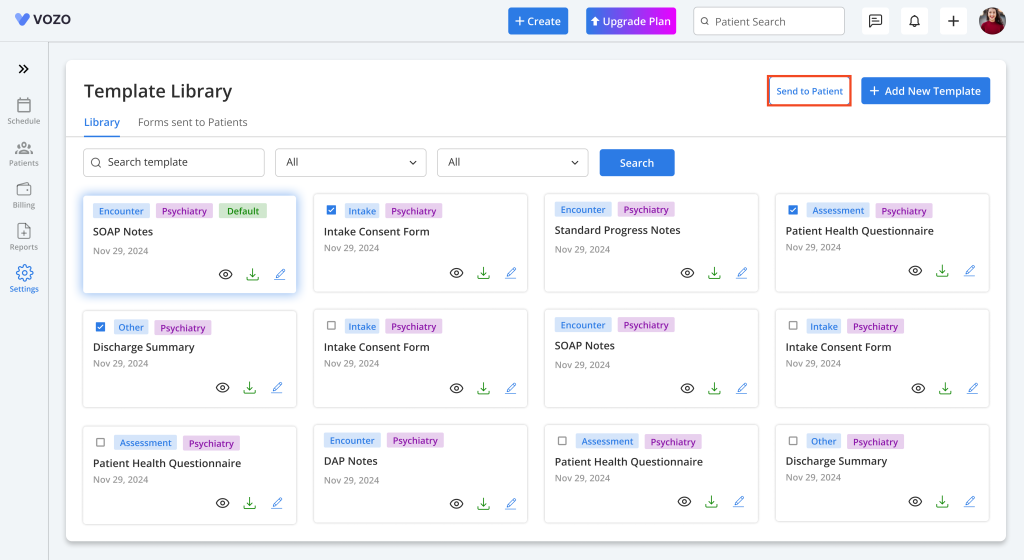
- To assign Intake, Assessment, and Other template documents to patients, select a “Checkbox” of a template card and click on the “Send to Patient” button.
- The “Send to Patients” pop-up will appear, where you can search and select the patients and enable the “Require Patients to Sign” checkbox if needed.
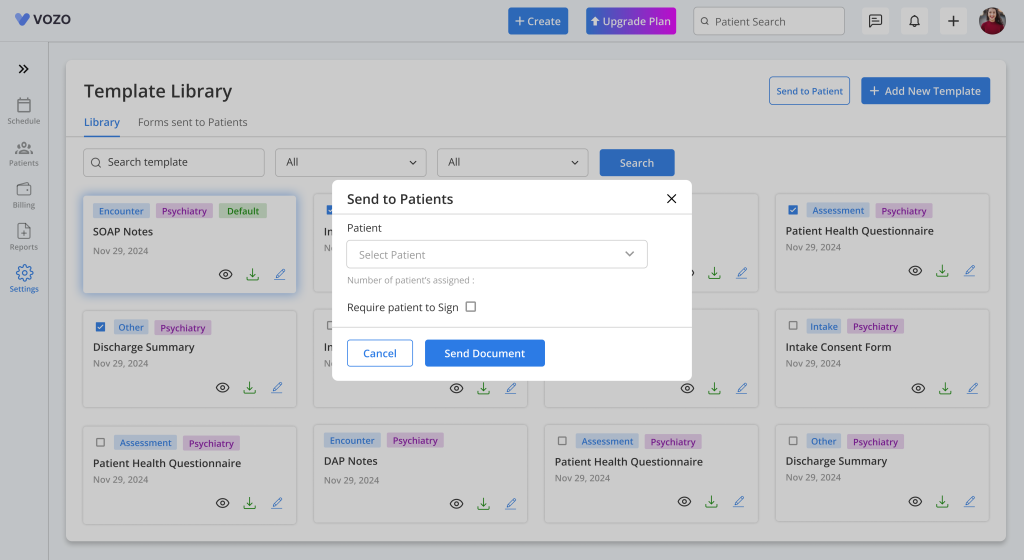
- Click the “Send Document” button to send the documents to the patient portal.
- In the Forms Sent to Patients tab, we will list the documents sent to the patient portal.
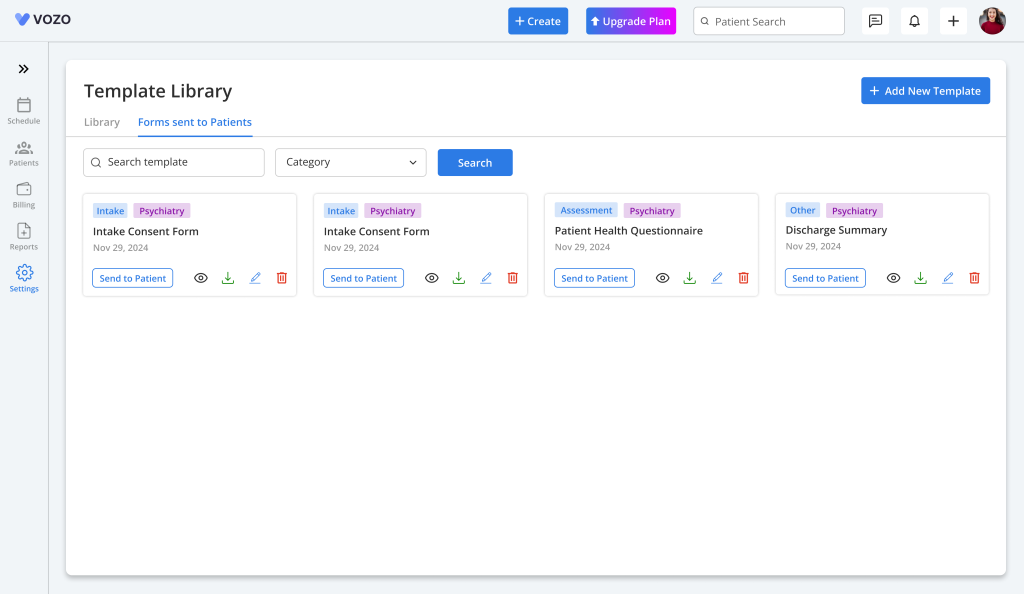
- From this tab, too, the user can “Preview”, “Download”, “Edit”, “Delete”, and “Send the notes to Patient”.
- The providers can filter the templates based on Template, Specialty, and Template Category.
Request Template
- The user can request the required template by clicking on the Request Template button.
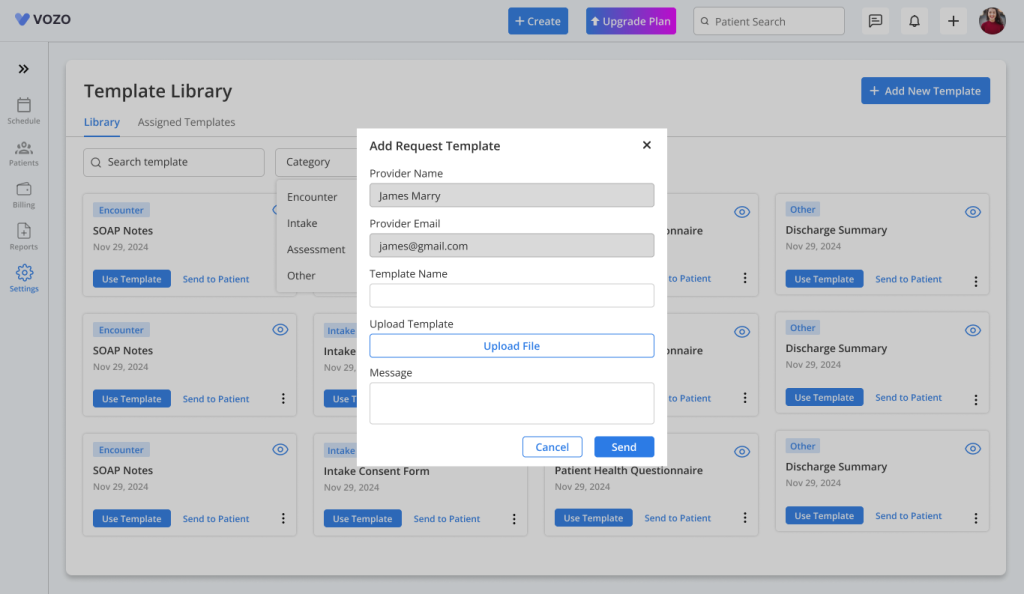
- Once the Request Template button is clicked, a popup window will open.
- The Provider Name and Email fields will be prefilled automatically.
- The user can enter the Template Name, upload the Reference Template, and add a message if required.
- After filling in the required details, the user can click on the Send button to submit the template request.