How can we help?
-
Sign Up Your Account
-
Get Started
-
Appointments
-
Reporting & Analytics
-
Patient Management
- Patient Dashboard
- Patient Demographics
- Adding Patient Insurance
- Prior Authorization
- Insurance Eligibility Verification
- Additional Info
- Manage Patient's Contacts
- Flags
- Manage Patient Homework
- Patient Appointments
- Managing Credit Cards
- Documents
- Problems
- Allergies
- Medications
- Immunizations
- Family History
- Past Medical History
- Client Portal Access
- Creating New Patient
-
E-prescriptions
-
Lab Orders & Results
-
Task Management
-
Messaging
-
Feedback & Support
-
Insurance Billing
-
Practice Dashboard
-
Appointments Dashboard
-
Provider Availability
-
Appointment Profile
-
Billing Profile
-
Audit Log
-
Patient Payments
-
Patient Statements
-
Patient Ledger
-
Fee Schedule
-
Manual Insurance Payment Posting (EOB)
-
Card Transactions
-
Automatic Insurance Payment Posting (ERA - Electronic Remittance Advice)
-
Patient Flag
-
Note Taking
-
Macro Buttons
-
Patient Education
-
Incoming & Outgoing Fax
-
Referral Management
-
Account Settings
-
Billing & Services
-
Scheduling Settings
-
Administration Settings
-
Clinical Notes
-
Add-Ons
-
Explore Vozo
-
Patient Portal
-
Calendar Dashboard
-
Patient List
Home >
Scheduling an Appointment
Views72
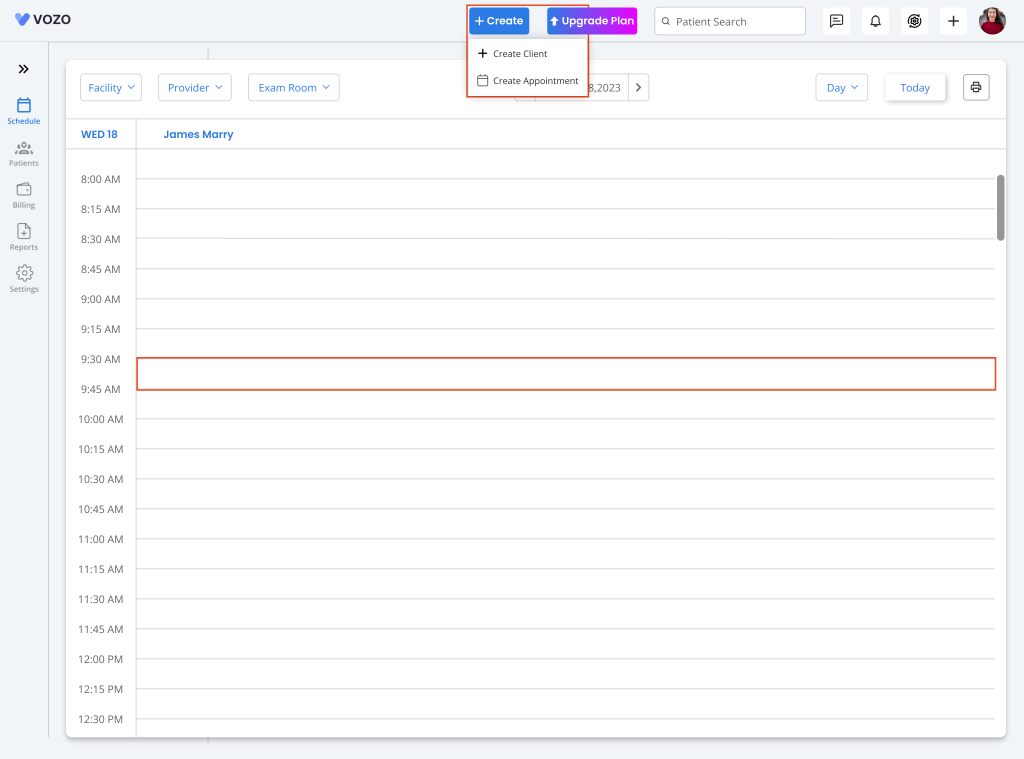
- Click “Schedule > Calendar” from the Schedule module to schedule an appointment.
- You can select a specific time slot from the calendar or click on the “Create > Create Appointment” button in the top nav bar.
- In the New Appointment pop-up, select an existing patient from the dropdown menu or click + Add Patient to create a new patient.
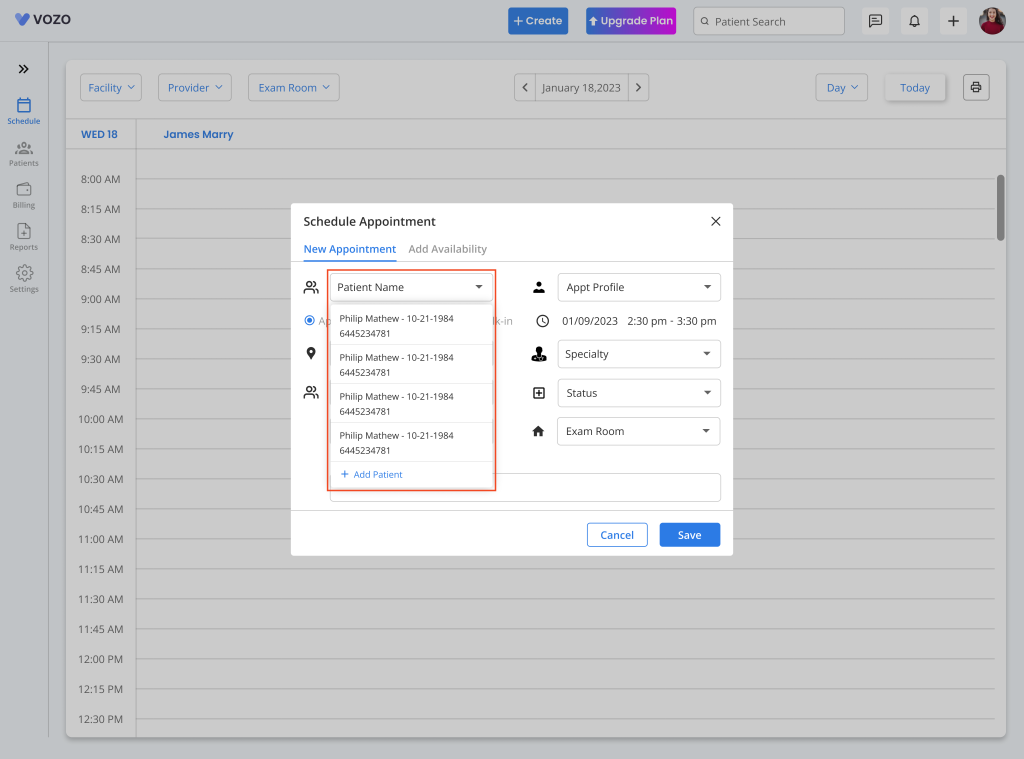
- Select a respective “Appointment Profile”, “Walk-in Appointment Type”, and set the “Date”, “Start/End Time”.
- Select a Location from the dropdown if you have multiple practice locations.
- Select a Specialty of the Provider from which they are going to be selected under for the patient’s appointment.
- Select a Provider from the dropdown menu based on the Specialty if your practice has multiple providers.
- Select the “Status” of the appointment along with the “Exam Room” in which the service will be provided.
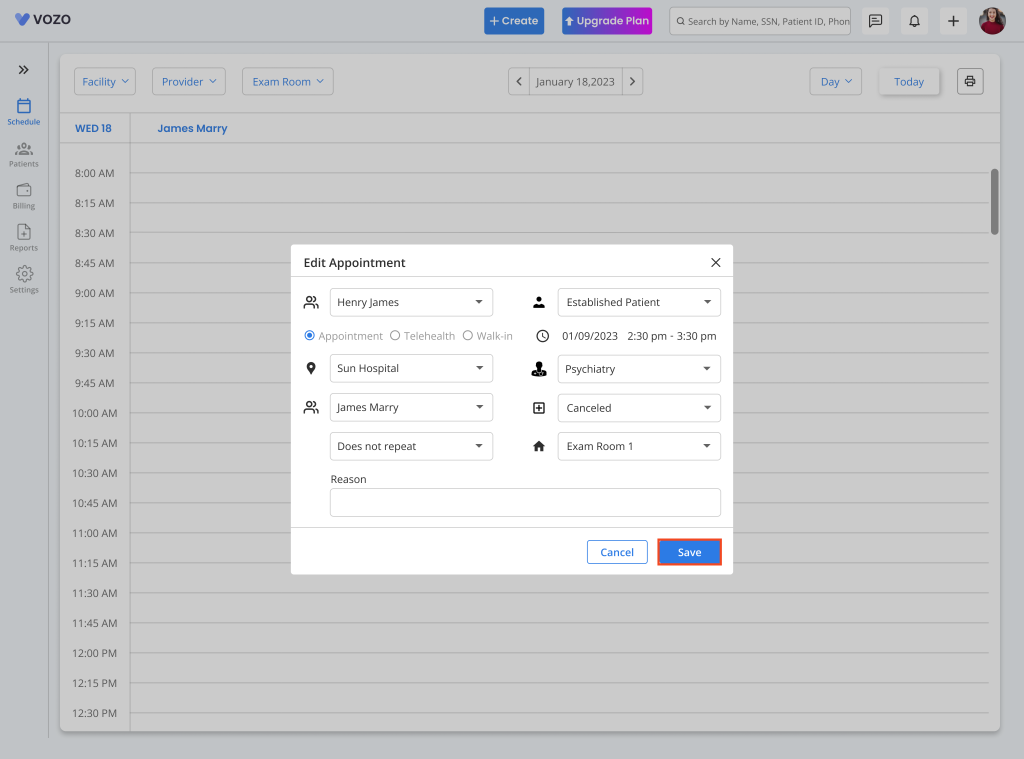
- If you want to add a reason for the appointment, enter the “Reason” and click “Save” to save the appointment.
- The scheduled appointment will be listed in the calendar based on the color assigned to the “Appointment Profile” with a “Person” or “Video” icon indicating a Walk-in or Telehealth appointment.
- View the appointment in Day, Week, or Month view by selecting from the dropdown.
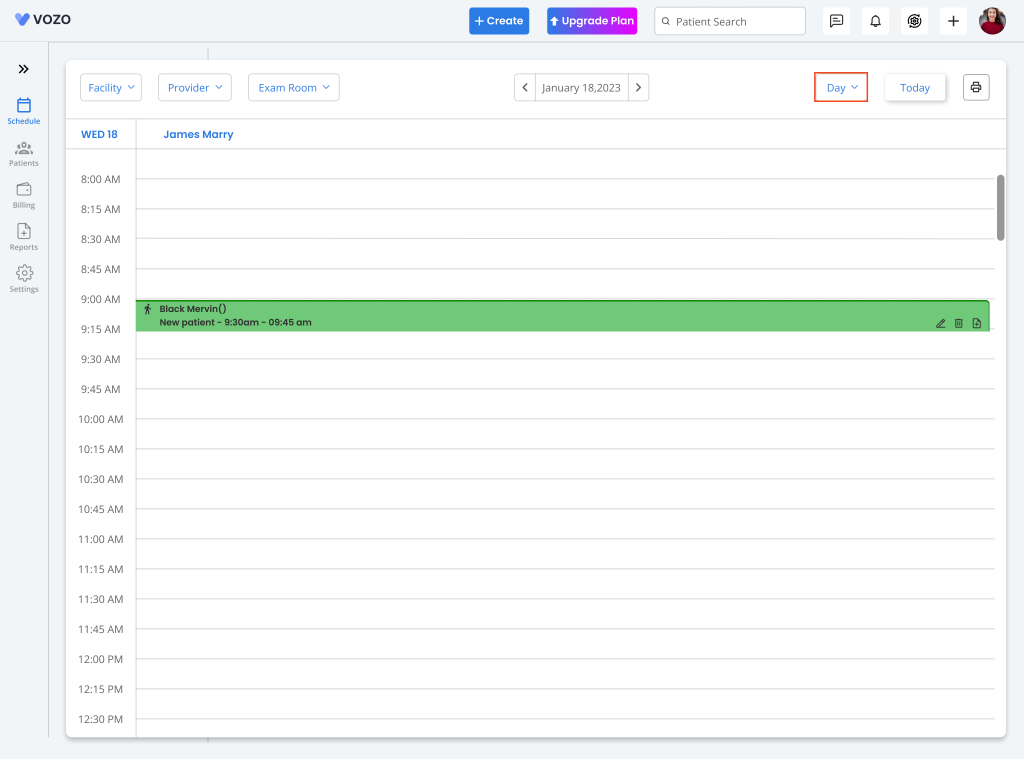
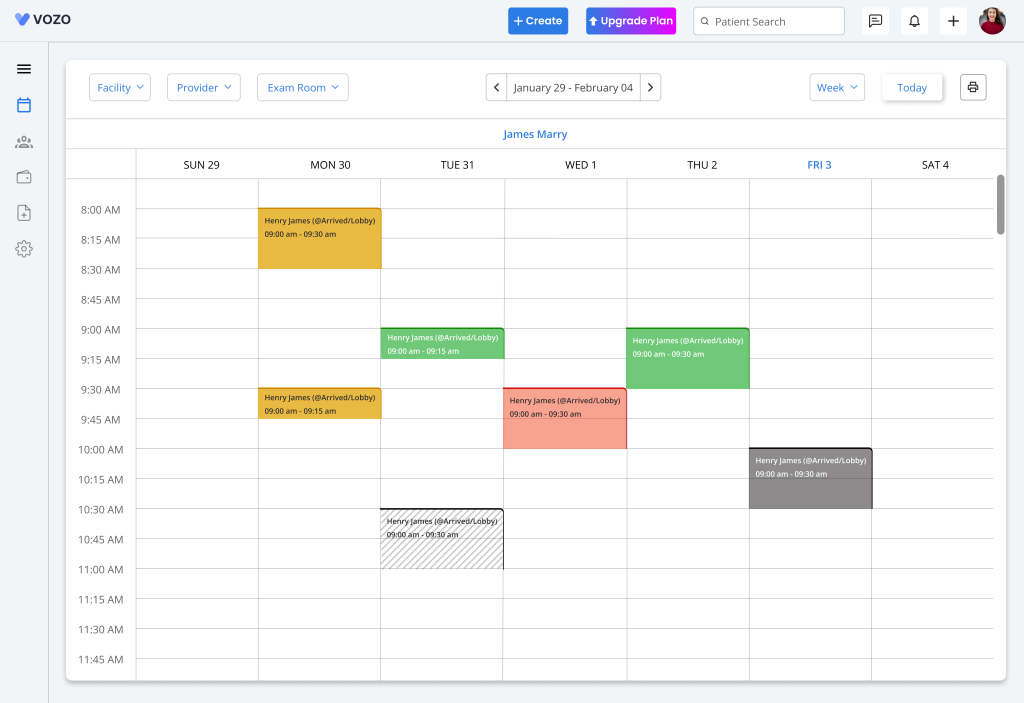
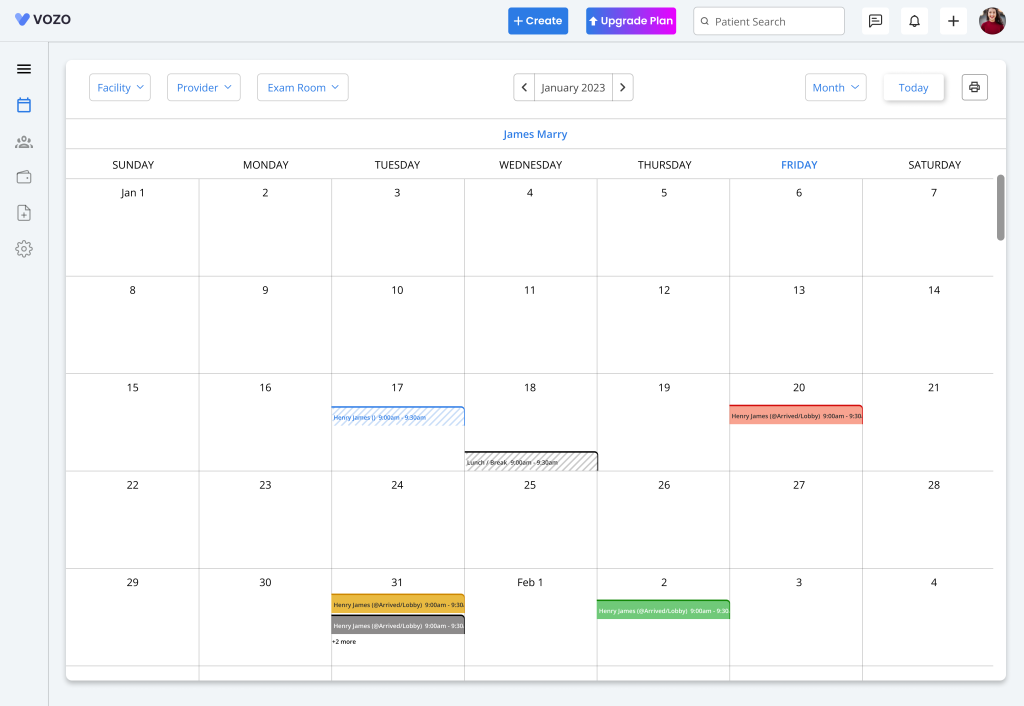
Table of Contents