How can we help?
Creating a Trial Account
Access the Pricing Page
- Go to the Vozo Health website and navigate to the Pricing page.
- Check out the pricing of the Basic and Premium plans along with their features..
- To try out the application, you can avail of our free trial plan, where users can open a demo account and try out the features and functions present in the application.
- To start your free trial account, click on the “Start for Free” option in the plan card of the pricing page.
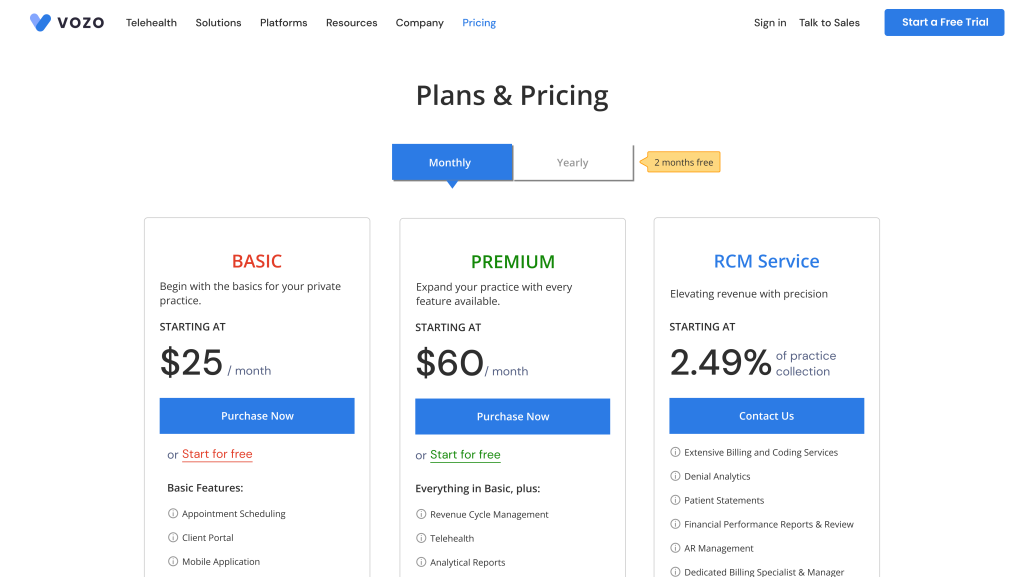
- Regardless of the selection of the “Start for Free” in the plan card, the user will be able to access all the Premium features in the Demo account.
- By clicking on the “Start for Free” option, you will be redirected to the “Sign up” page
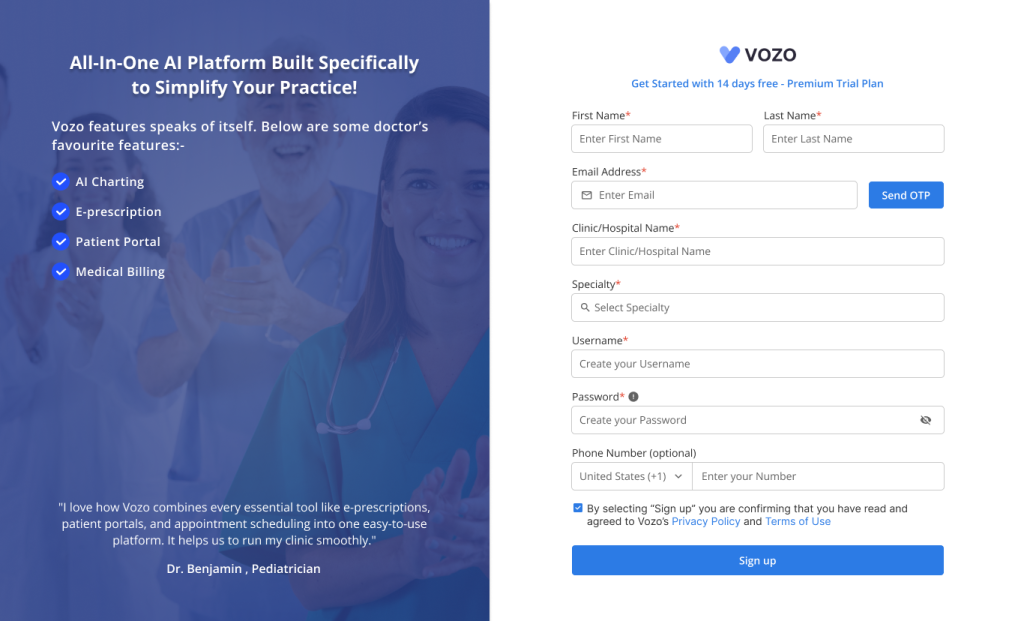
Enter Account Details
- In the Sign up page, first enter your email in the Email Address input field and click on the “Send OTP” button.
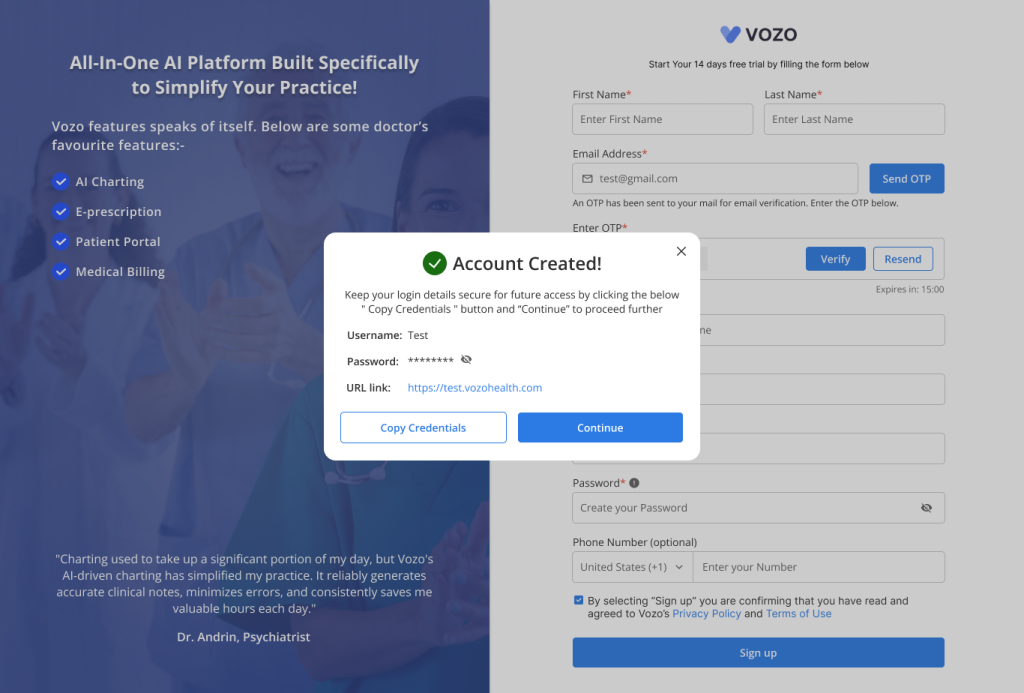
- You will receive an email containing the OTP Verification Code.
- Fill out the OTP in the “Enter OTP” input field and click on the “Verify” button to verify your OTP.
- If you haven’t received the OTP via email, click on the “Resend” button to receive the OTP email again.
- After verification, fill out your other details like:
- First Name
- Last Name
- Clinic/Hospital Name
- Specialty
- Username
- Password
- After entering all your details, click on the “Sign up” button to proceed with the Sign-up process.
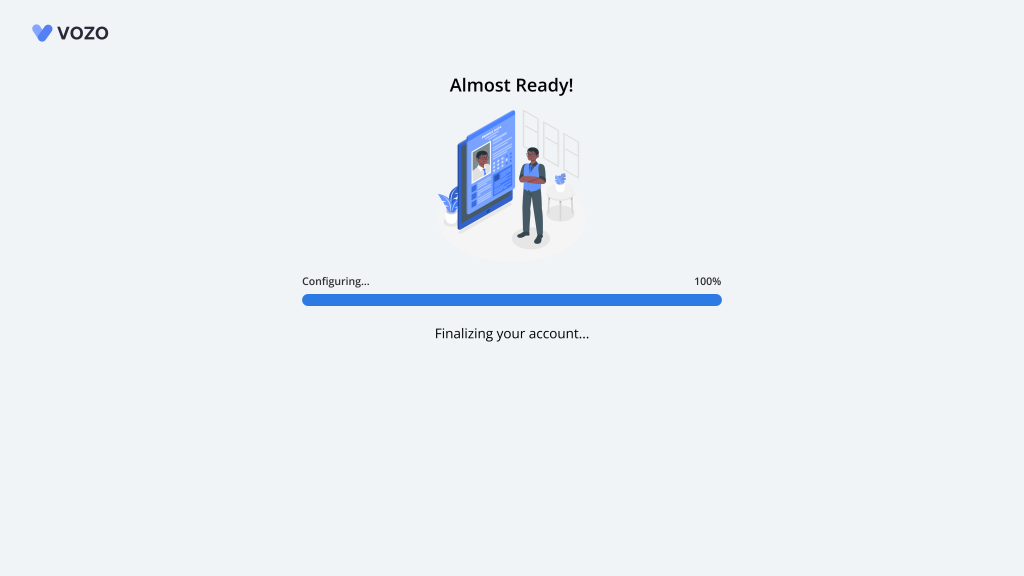
Setting up your Account
- The system will start configuring your account after the sign-up process. It may take a few seconds.
- Once the configuration is done, a pop-up will appear mentioning that the account has been created.
- In the popup, you can view your Username, Password, and Account URL of your account.
- You can also copy and paste the credentials by clicking on the “Copy Credentials” button at your convenience.
- As the account is created, click on the “Continue” button to proceed with the Login in to your account.
Log in to your Account
- In the Login page, using the copied credentials, enter your Username and Password details.

- Click on the “Sign in” button to log in to your account, you will be redirected to your Dashboard in the application.
- Now you can explore the application and check the functions that you require.