How can we help?
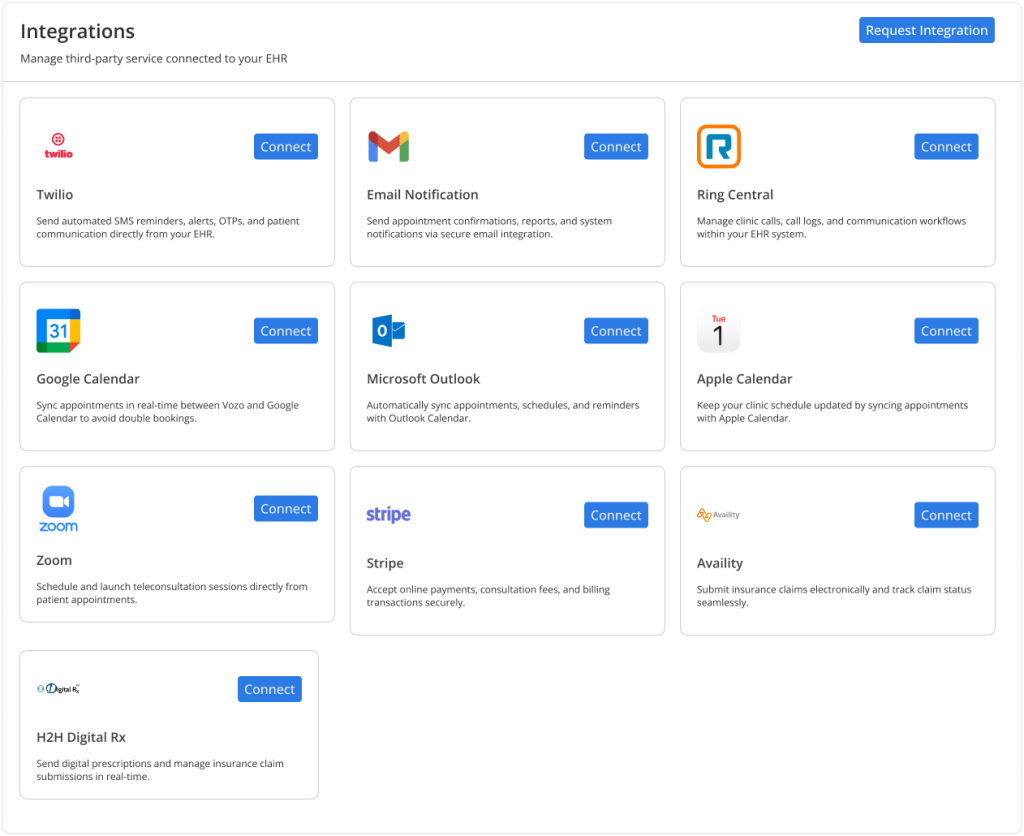
Integrations
Connecting third party Integrations
- Go to Settings > Integrations menu..
- Click on Integrations.
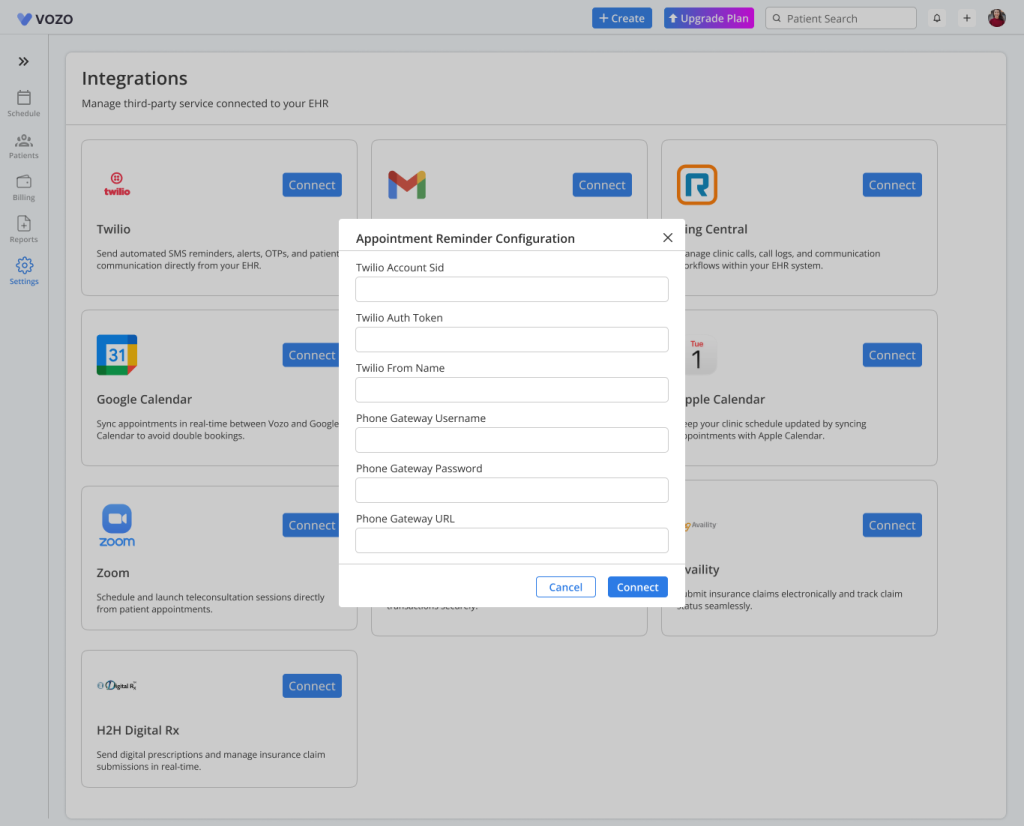
Twilio
- To connect Twilio, click the Connect button on the Twilio card.
- Enter the required details such as Account SID, Auth Token, and Phone Number.
- Click Connect to save the configuration.
- A test screen will appear where you can send a test message.
- Once successful, the status will change to Connected.
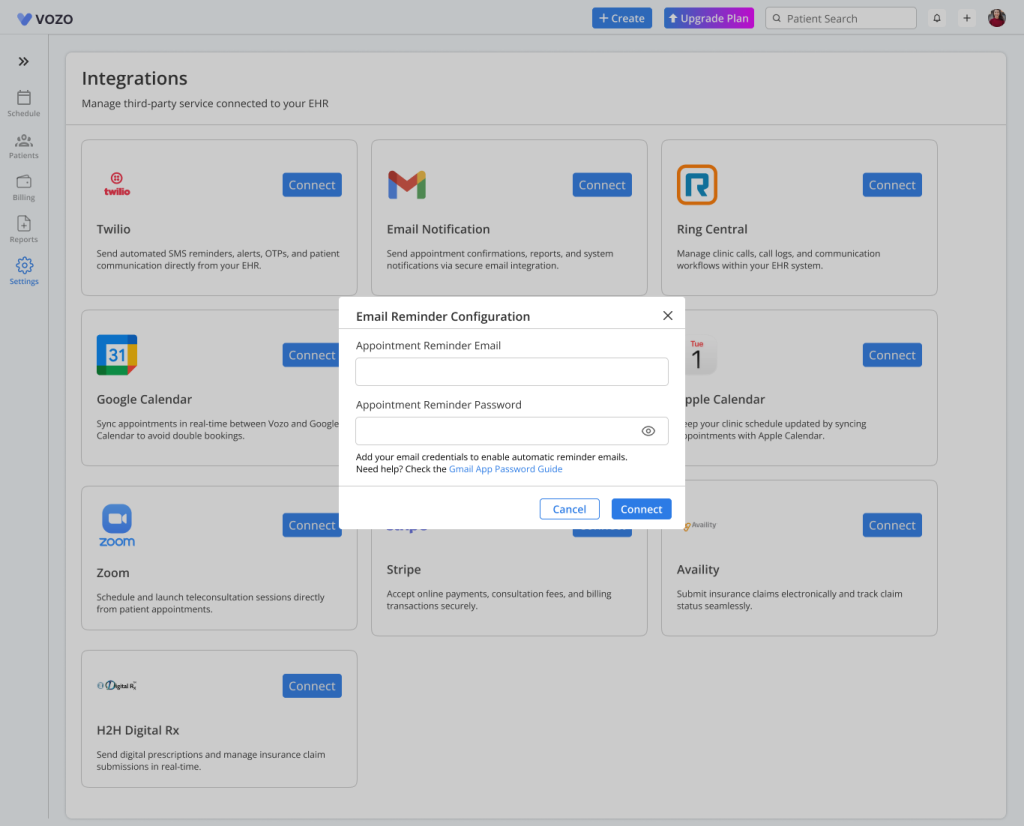
Email Notification
- To connect Email Notification, click the Connect button.
- Sign in with your email account in the popup window.
- Grant the required permissions.
- The integration will be configured and the status will change to Connected.
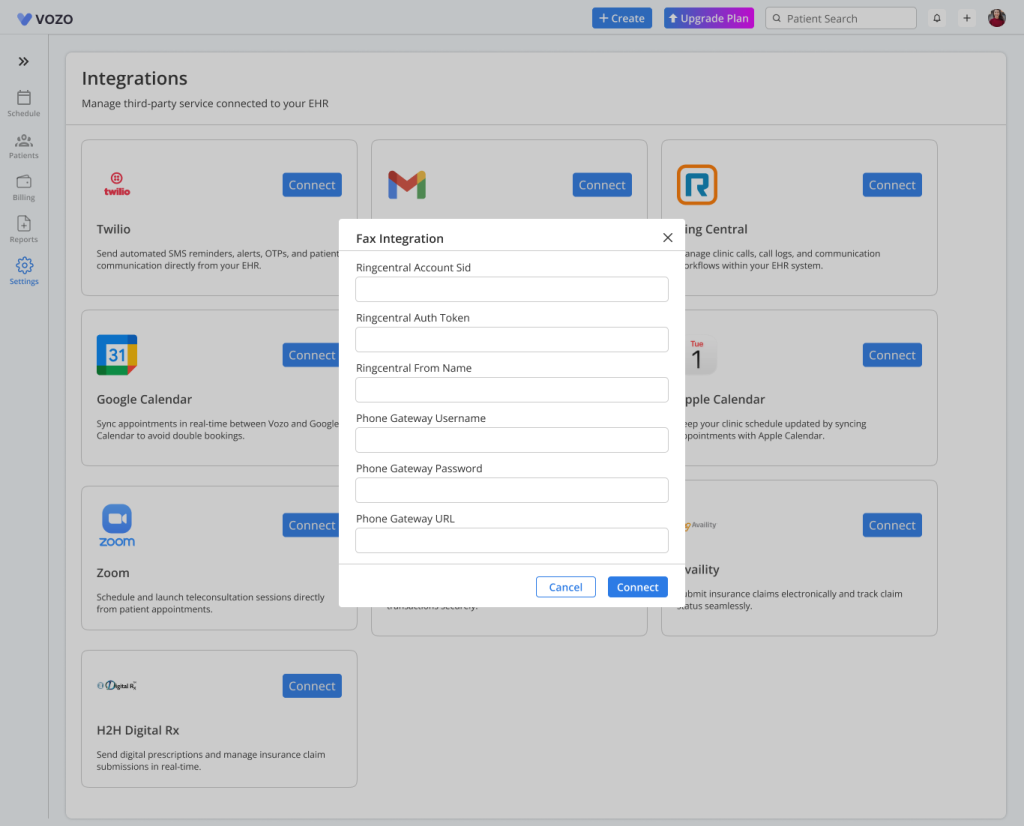
Ring Central
- To connect Ring Central, click the Connect button.
- You will be redirected to the login page.
- Enter your credentials and sign in.
- Grant access permissions.
- The system will automatically connect and update the status to Connected.
Google Calendar Sync
- To connect Google Calendar, click the Connect button.
- A popup will appear with sync options for appointments and availability.
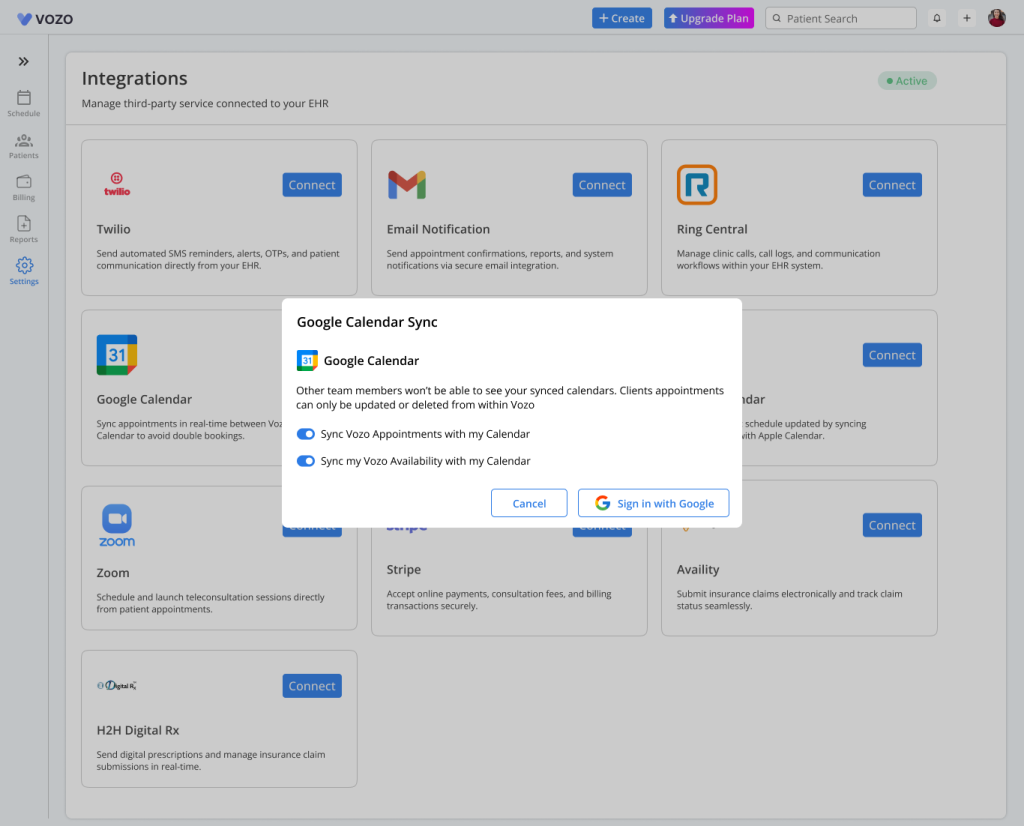
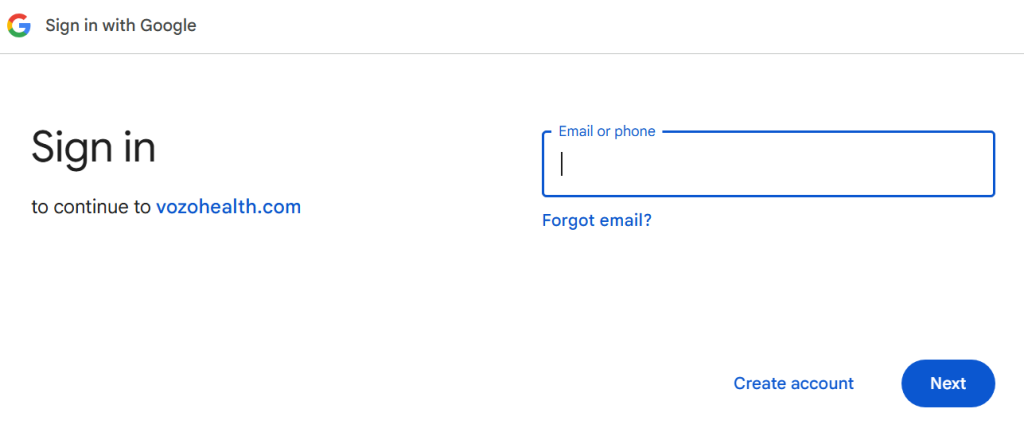
- Click Sign in with Google.
- Login to your Google account and allow permissions.
- The calendar will sync automatically and the status will change to Connected.
Microsoft Outlook Calendar Sync
- To connect Microsoft Outlook, click the Connect button.
- A popup will appear with sync options for appointments and availability.

- Sign in using your Microsoft account.
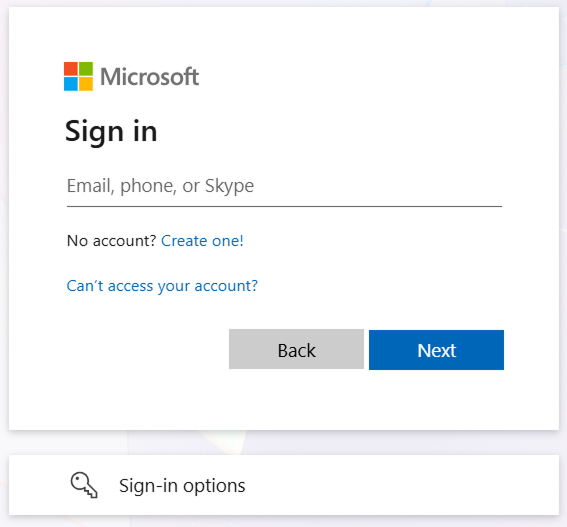
- Grant the required permissions.
- The calendar will sync and the status will change to Connected.
Apple Calendar Sync
- Click Connect on Apple Calendar.
- A popup will appear with a subscription link.
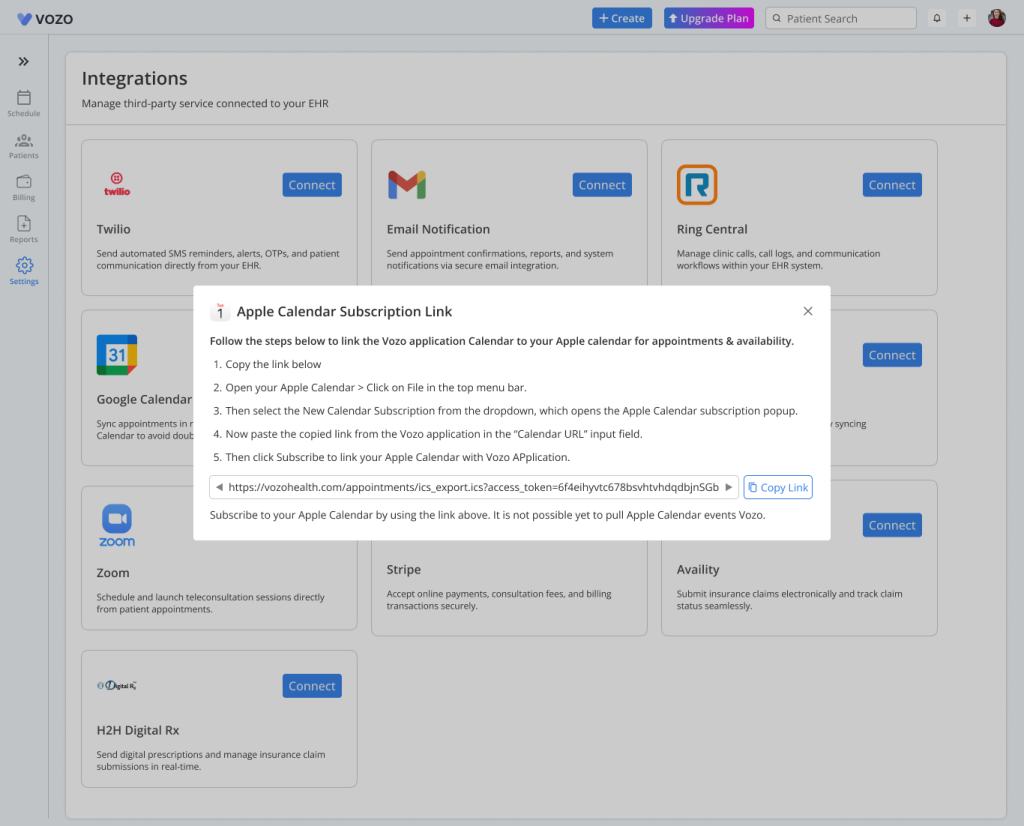
- Click Copy Link to copy the calendar URL.
- Open Apple Calendar on your device. Paste the copied link and subscribe to the calendar.
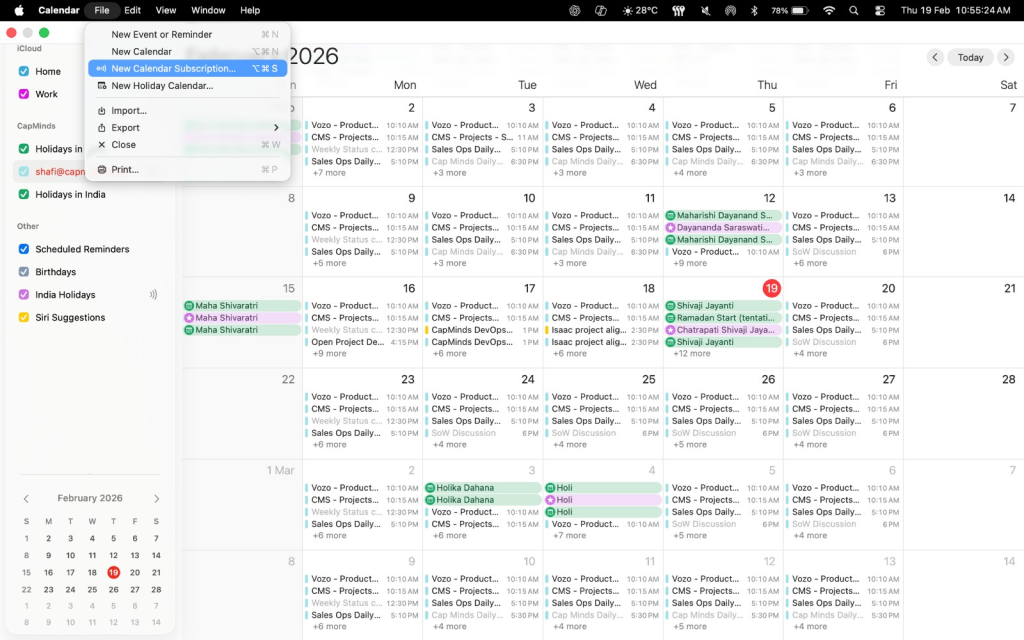
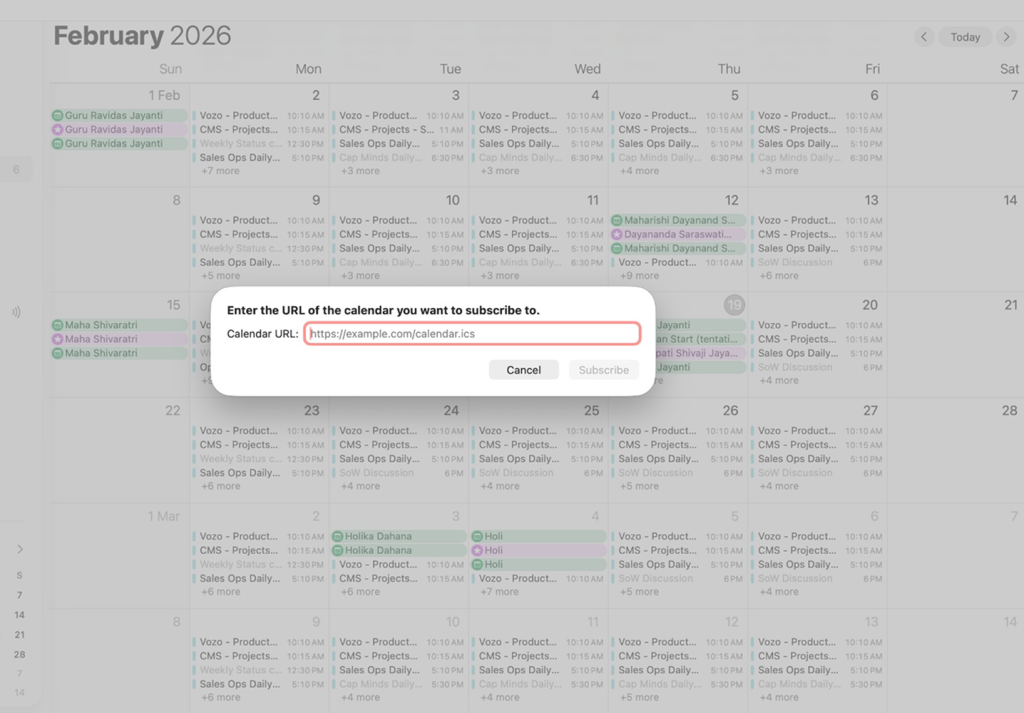
- Once subscribed, the Apple Calendar will be connected to the Vozo application and your appointments will be synced.
Zoom
- To connect Zoom, click the Connect button.
- If the service is not purchased, click Purchase, select a plan, and complete the payment.
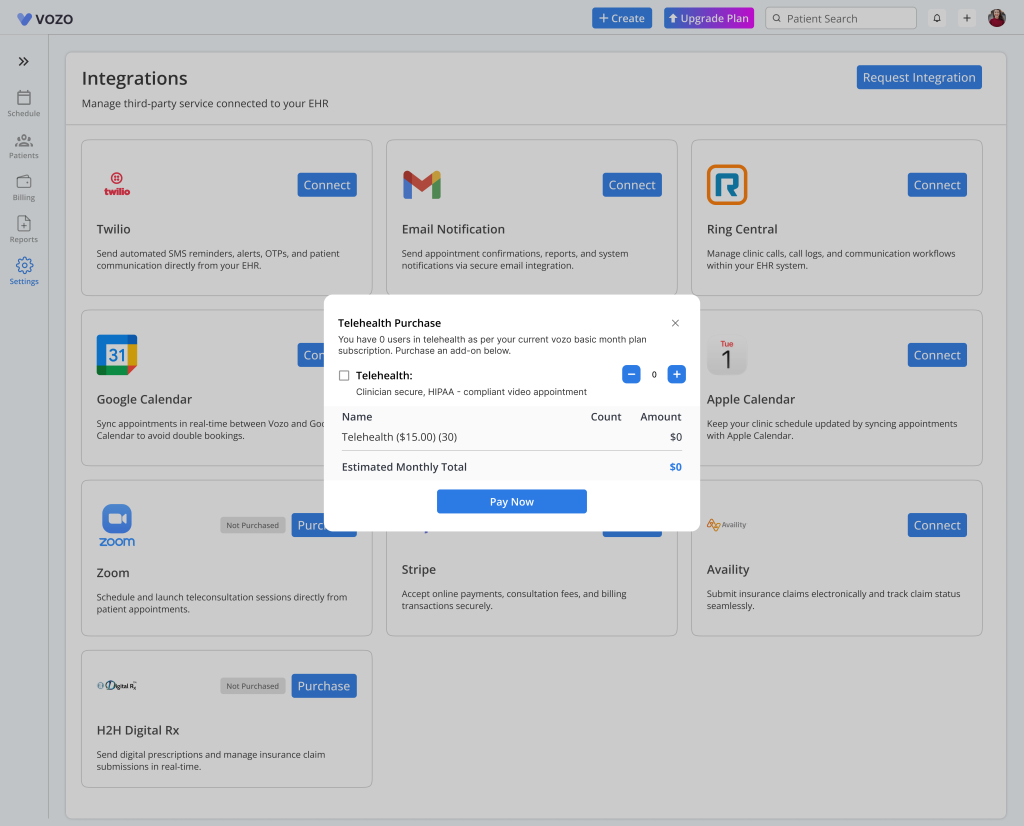
- If already purchased, sign in to your Zoom account and grant permissions.
- The integration will be activated and the status will change to Connected.
Stripe
- To connect Stripe, click the Connect button.
- Sign in to your Stripe account.
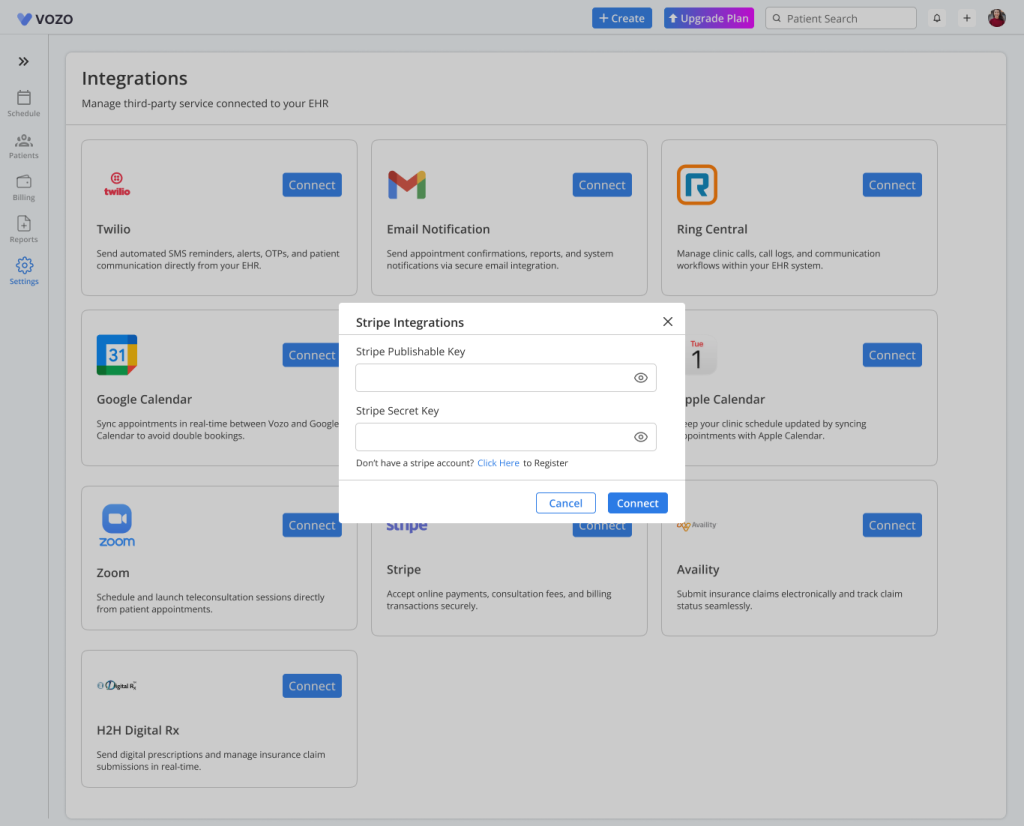
- Authorize access to complete the setup.
- The payment integration will be enabled and the status will change to Connected.
Availity
- To connect Availity, click the Connect button.
- Enter your account credentials and verify the details.
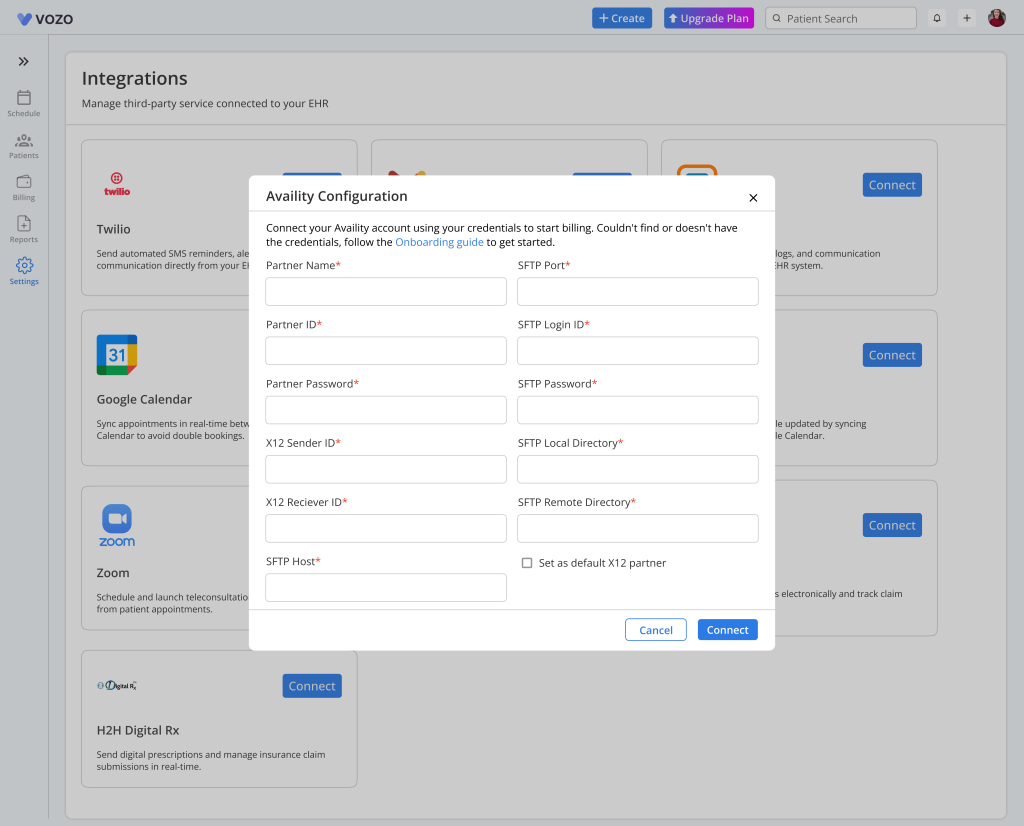
- The clearinghouse services will be enabled and the status will change to Connected.
H2H Digital Rx
- To connect H2H Digital Rx, click the Connect button.
- Enter provider credentials and verify identity.
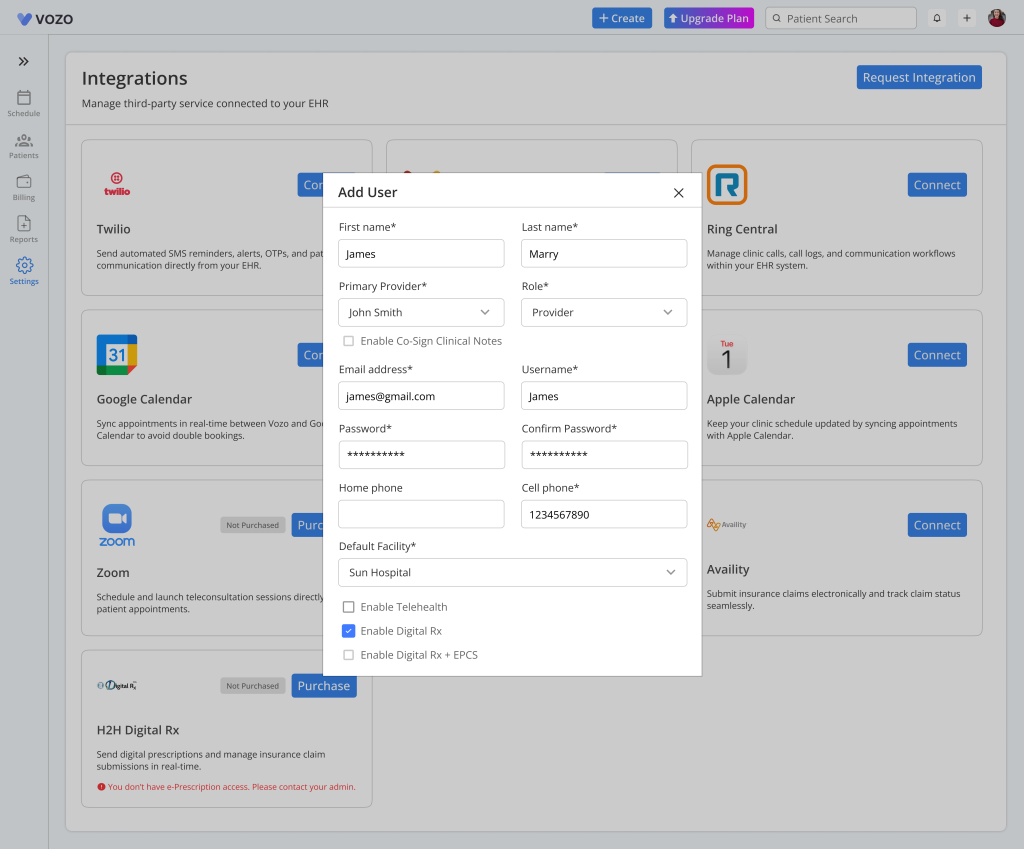
- Click Connect to enable digital prescription services.
- The status will change to Connected.
Editing an Integration
- To edit an integration, select the integration to open the configuration section. Update the required details and click Save. The system will automatically verify the connection.
- To verify an integration, click the Verify button. Enter the test details and click Send Test. This confirms whether the integration is working properly.
- To remove an integration, click the Remove button. Confirm the action to disconnect the integration. The status will change to Disconnected.
- The integration can be enabled or disabled using the toggle option available on each integration card.
- If there is an issue with the integration, the status will show as Error. Update the credentials in the configuration section and save again to resolve the issue.
- The system also displays the last sync time and sync status for each integration. The system will automatically retry failed syncs.
Request Integration
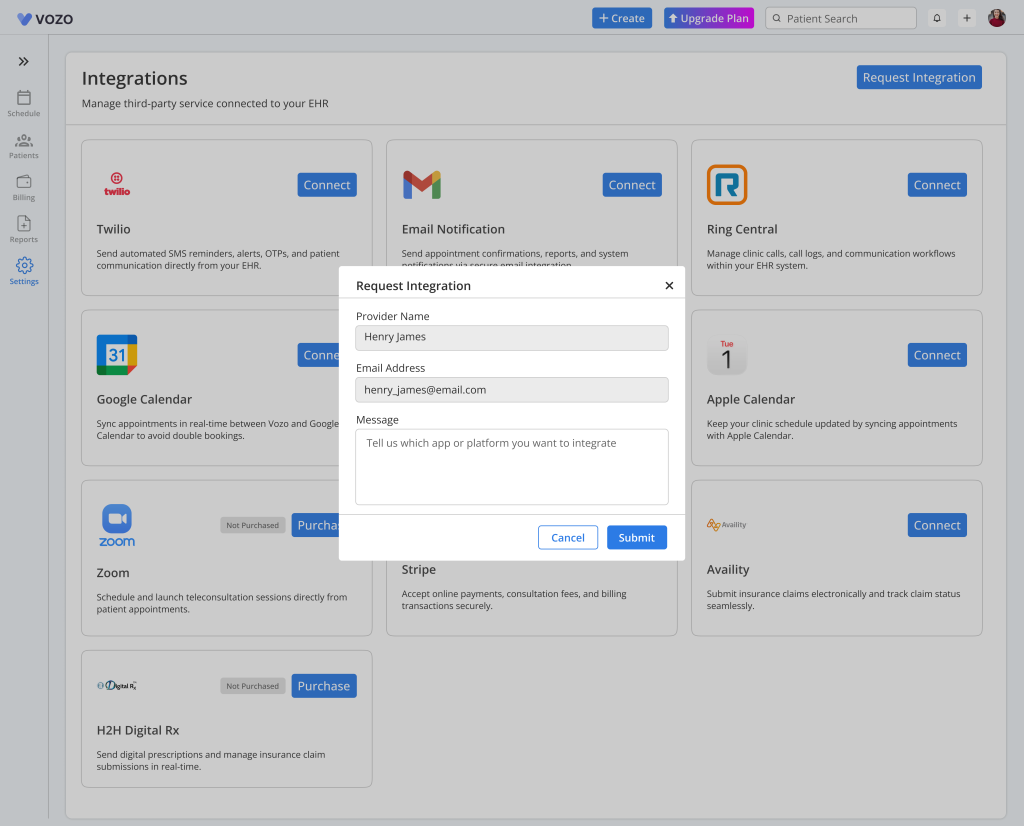
- The user can request the required integration by clicking on the Request Integration button.
- Once the Request Integration button is clicked, a pop-up window will open.
- The Provider Name and Email fields will be prefilled automatically.
- The user can enter the message.
- After filling in, the user can click on the Submit button to submit the integration request.